Mini Spring Bunny Dressed as a Chicken – Free Crochet Pattern
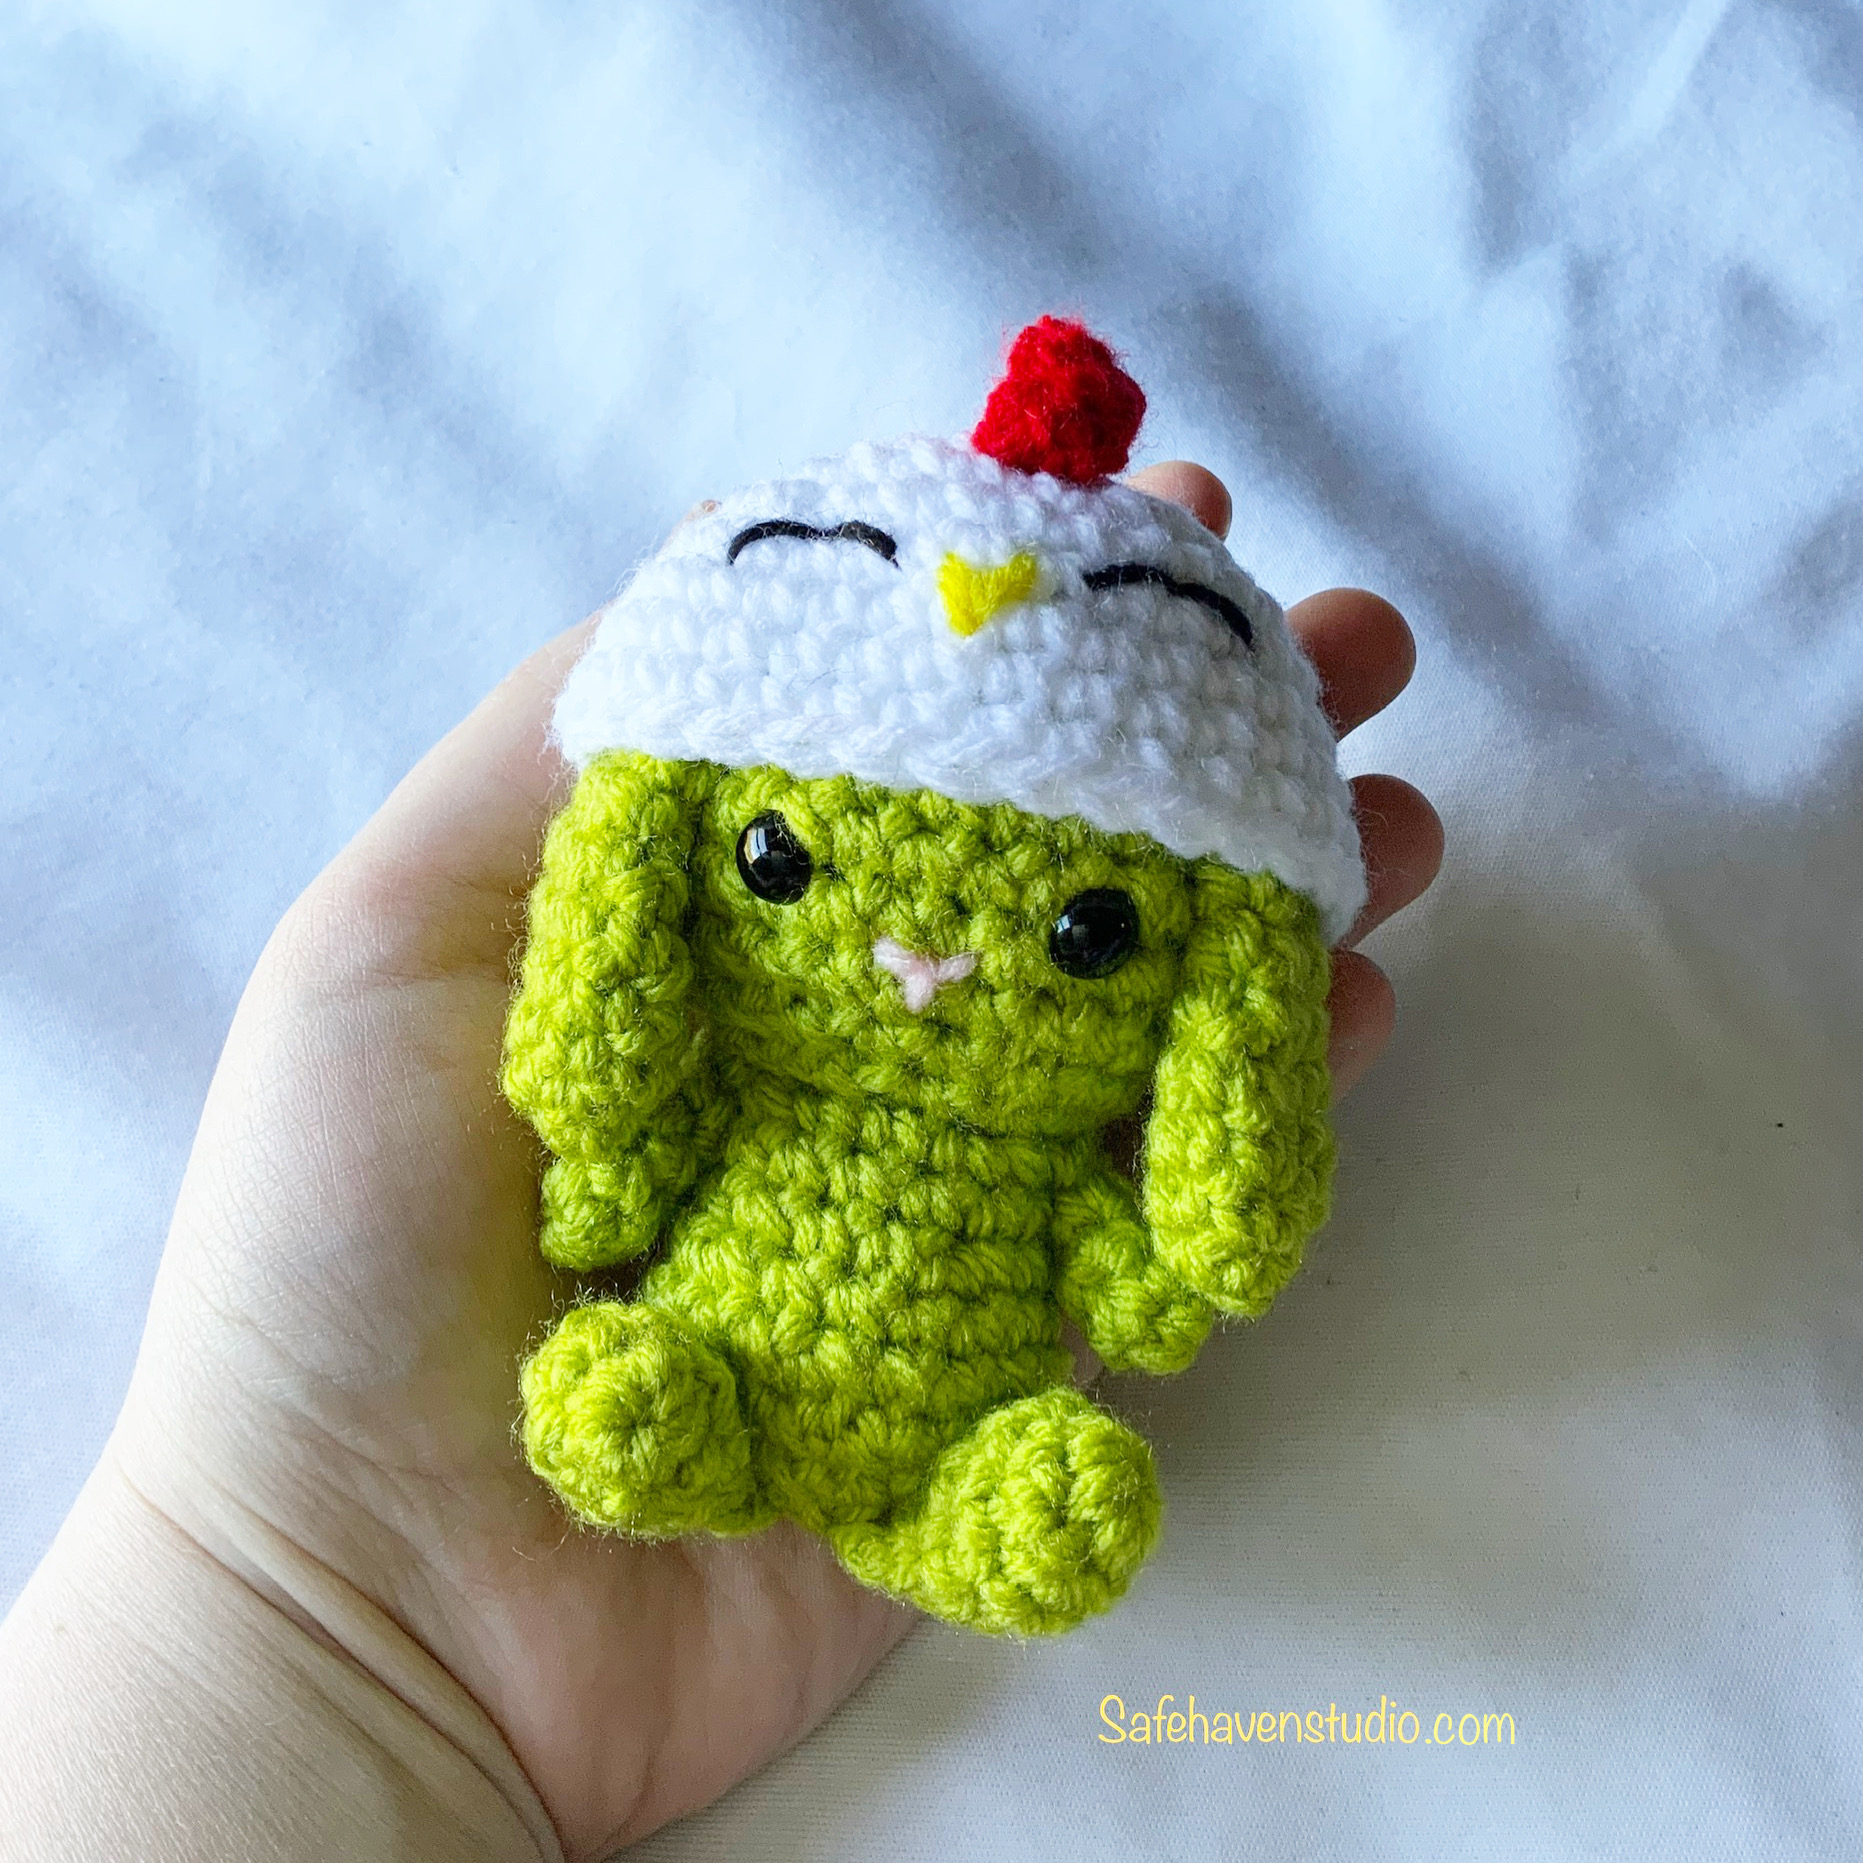
Hey everyone! It’s only about a week until Easter and if you’re like me, you wait to make gifts until the last minute. These little bunnies are the perfect size for an Easter basket or to make several for all the kids in your family. When you’re finished, please tag me on Instagram at safehaven_studio
Materials Needed
- Worsted weight yarn in main body color
- Worsted weight yarn to embroider nose
- 10mm Safety Eyes
- 3.75mm (F) crochet hook
- Stuffing
- Yarn Needle
- Scissors
Crochet Terms (US Terms)
- MR – Magic Ring
- Sc – Single Crochet
- Inc – Single Crochet Increase
- Dec – Single Crochet Decrease
- Dc – Double Crochet
- St – Stitch
- Sl St – Slip Stitch
- FLO – Front Loop Only
Starting from the top down in Main Color
R1: 6 Sc in MR
R2: *Inc* (12)
R3: *Sc, Inc* (18)
R4: *2 Sc, Inc* (24)
R5: *3 Sc, Inc* (30)
R6-9: *Sc* (30)
R10: *3 Sc, Dec* (24)
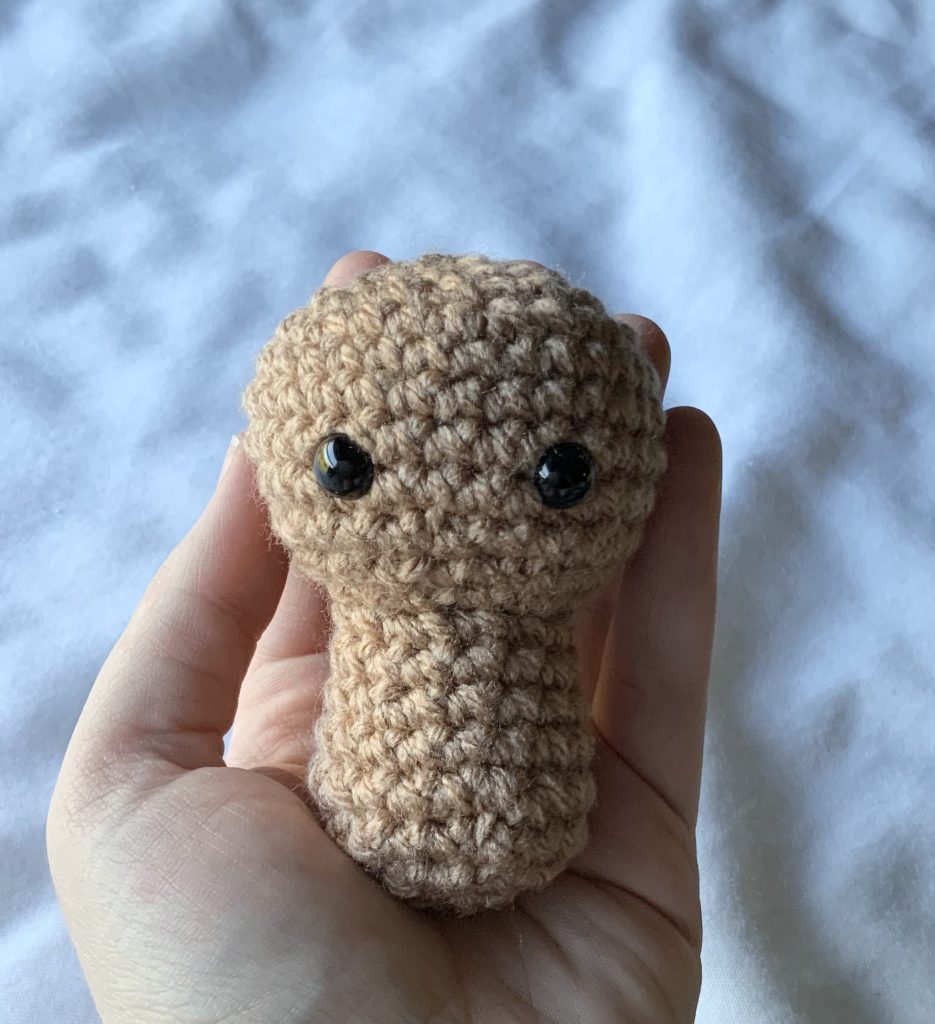
Insert the eyes between rows 8 and 9, about 3-4 stitches apart.
R11: *2 Sc, Dec* (18)
Being to stuff and continue stuffing as you go.
R12: *Sc, Dec* (12)
Continue with row 13 as this is where the body begins. It’s crocheted in the same continuous piece as the head.
R13: In FLO *2 Sc, Inc* (16)
R14: *Sc* (16)
R15: *7 Sc, Inc* (18)
R16: 4 Sc, Inc, 8 Sc, Inc, 4 Sc (20)
R17: *4 Sc, Inc* (24)
R18: *2 Sc, Dec* (18)
R19: *Sc, Dec* (12)
R20: *Dec* (6)
Fasten off and leave a tail. Sew the hole closed.
Ears (Make 2)
Don’t Stuff the Ears
R1: 6 Sc in MR
R2: *Sc, Inc* (9)
R3-5: *Sc* (9)
R6: Dec, 7 Sc (8)
R7: *2 Sc, Dec* (6)
R8: *Sc* (6)
R9: Hold sides together and Sc 3 times across (3)
Fasten off and leave a long tail for sewing. Attach Ears to rows 5-6 of the head. The side of the ears will be about one stitch from the eyes on each side.
Legs (Make 2)
R1: 6 Sc in MR
R2: *2 Sc, Inc * (8)
R3: *Sc* (8)
R4: Dec, 6 Sc (7)
Stuff a little, using an unsharpened pencil to help.
R5: Dec, 5 Sc (6)
R6: Hold sides together and Sc 3 times across (3)
Fasten off and leave a long tail for sewing. Attach legs to the bottom of the body starting at row 1 and going outward in a ‘V’ shape.
Arms (Make 2)
R1: 5 Sc in MR
R2-4: *Sc* (5)
Sl St once.
Fasten off leaving a long tail for sewing. Attach to rows 12-13 where the head and neck meet.
If you’d like to make your bunny a little hat then continue!
Hat in White
R1: 6 Sc in MR
R2: *Inc* (12)
R3: *Sc, Inc* (18)
R4: *2 Sc, Inc* (24)
R5: *3 Sc, Inc* (30)
R6: *14 Sc, Inc* (32)
R7-10: *Sc* (32)
Comb in Red
R1: Chain 5. Work 5 Dc in second Chain from hook.
Skip one Chain. Sl St in last Chain.
Fasten off and leave a tail to sew. Sew to rounds 1-5 of the hat in a straight line from front to back.
Finishing the Hat
Using Yellow yarn, embroider a ‘V’ on Row 8 off the hat to make the beak.
Using Black yarn (I used thinner yarn but whatever your preference is) embroider the eyes on Row 7 of the hat. Use the pictures for reference if you need to.
All done!
Put the hat on the little bunny, tuck snuggly into an Easter basket and you’re ready to go!
Thank you so much for viewing my pattern and I’d love to be tagged in your makes on Instagram!
Tag me @safehaven_studio
This is an original pattern by Shelby of SafeHavenStudio. You cannot claim this pattern or images as your own, distribute, or sell this pattern or images. If you want to share, you may link to this pattern but please do not reprint on your site. You may sell items made from this pattern in small quantities but please give credit to me (Shelby at SafeHavenStudio) for the pattern. Thank you for respecting the boundaries and products of designers.