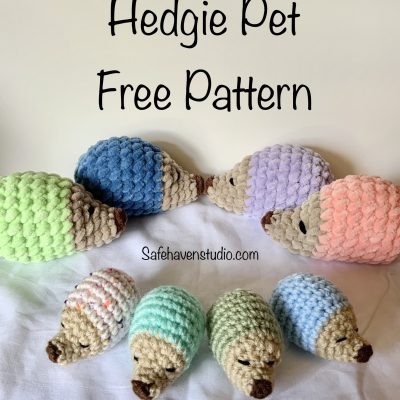
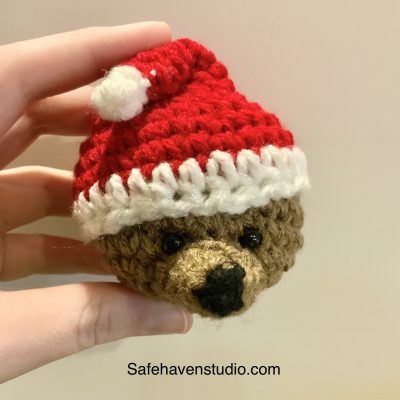
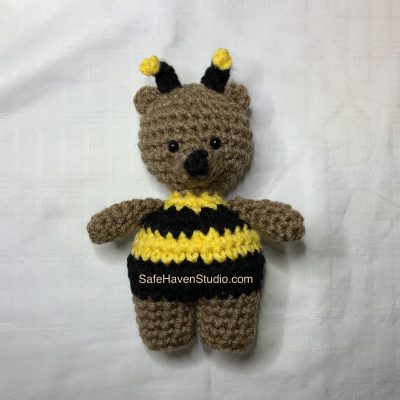
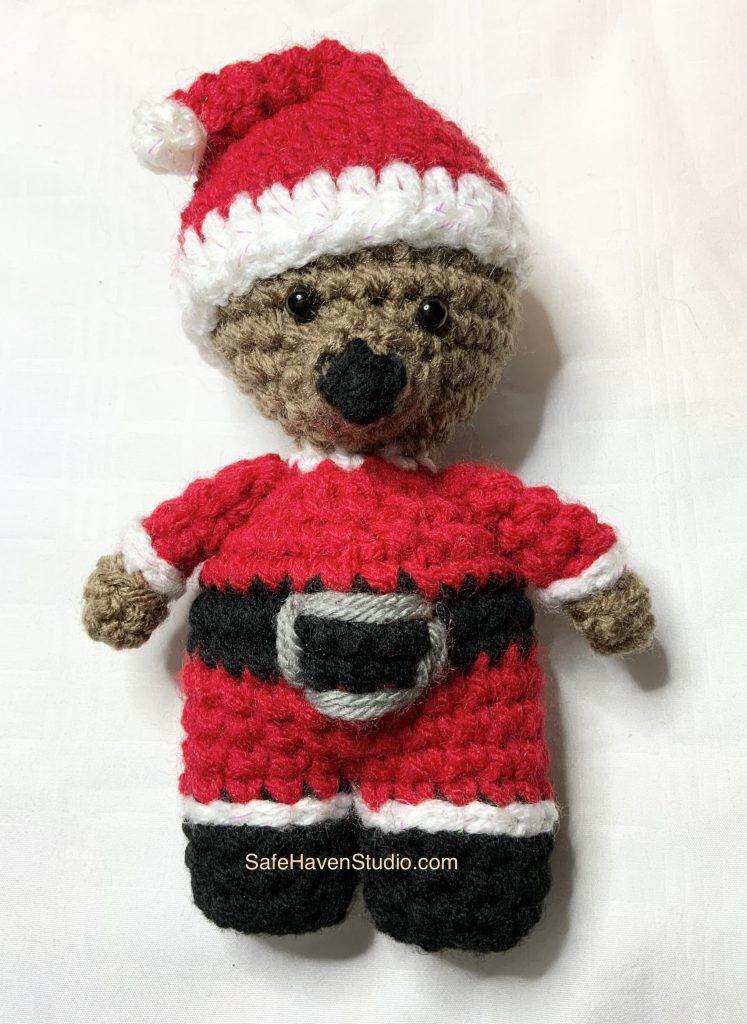
Santa Bear – Free Crochet Pattern

This is a fun gift to make for anyone in your life, big or small! If you make this, please tag me in pictures of your makes on my instagram @safehaven_studio and don’t forget to check out my paid patterns here on ko-fi or here on ravelry. I also have a facebook page where you can see what I’m up to here. Thanks so much!
Materials Needed
- Worsted Weight yarn in Brown, Black, Red, White, and Gray or Silver
- 6mm Safety Eyes
- 3.75mm (F) Crochet Hook
- Stuffing
- Yarn Needle
- Pins
- Scissors
Crochet Terms (US Terms)
- MR – Magic Ring
- Ch- Chain
- Sc – Single Crochet
- Inc – Single Crochet Increase
- Dec – Single Crochet Decrease
- HDC – Half Double Crochet
- BPSC – Back Post Single Crochet (There’s an alternative to this stitch in the pattern)
- BLO – Back Loop Only
- FLO – Front Loop Only
- Sl St – Slip Stitch
- FO – Fasten Off
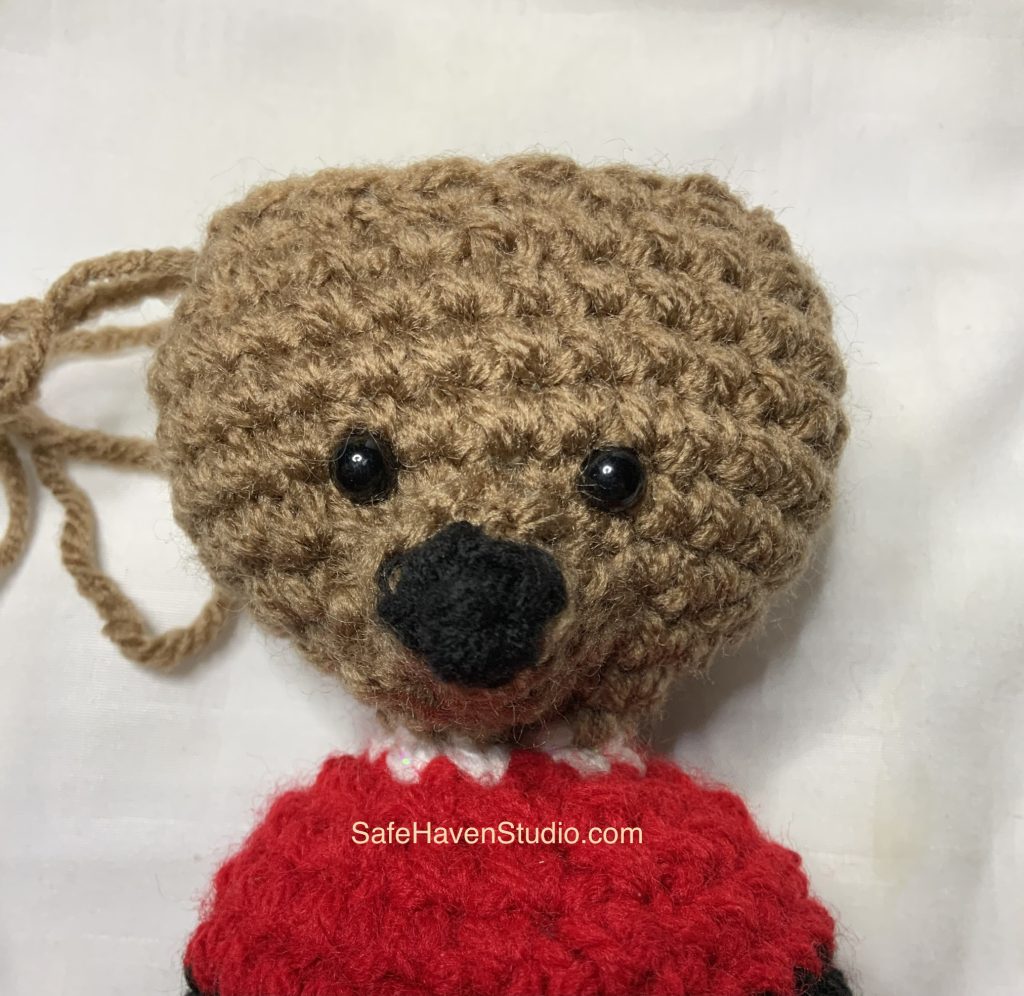
Snout – Starting in Black
R1: 3 Sc in MR (3)
Switch to Brown at the end of R1
R2: *Inc* (6)
R3: 2 Sl Sts, Sc, 2 Inc, Sc (8)
R4: 2 Sl Sts, 2 Sc, 2 Inc, 2 Sc (10)
Sl St once. Fasten off and leave a tail long enough to sew the snout onto the head.
Legs (2) – Starting in Black
R1: 6 Sc in MR (6)
R2: *Inc* (12)
R3: In BLO, *Sc around* (12)
R4-5: *Sc* (12)
Change to White
R6A: *Sl St 12 times* (12)
Change to Red
R6B: Ignore Row 6A and Single Crochet in both loops of Row 5 (12)
FO first leg, leave a tail to use later after Row 12 of the Body. Repeat Rows 1-7 for Second Leg but don’t fasten that one off. Continue with the body at Row 7.
Body – Still Using Red
R7: Sc around 2nd leg. Hold both legs together and Sc around 1st Leg. (24) Move Stitch Marker to last stitch worked.
R8: *Sc* (24)
R9: 11 Sc, 2 Inc, 11 Sc (26)
Change to Black
R10: 12 Sc, 2 Inc, 12 Sc (28)
R11: *Sc* (28)
Change to Red
R12: 12 Sc, 2 Dec, 12 Sc (26)
– Now is when you’ll use the tail left from the First Leg to sew the hole closed between the legs. Begin to stuff the legs and continue as you go. Don’t overstuff the feet, make sure they sit flat.
R13: 11 Sc, 2 Dec, 11 Sc (24)
R14: *2 Sc, Dec* (18)
R15: *1 Sc, Dec* (12)
Change to White
R16: *2 Sc, Dec* (9)
Change to brown for the head.
Head – In Brown
R17: *2 Sc, Inc* (12)
R18: *1 Sc, Inc* (18)
R19: *2 Sc, Inc* (24)
R20: *3 Sc, Inc* (30)
R21-24: *Sc* (30)
R25: *3 Sc, Dec* (24)
R26: *2 Sc, Dec* (18)
Attach Snout to Rows19-21 and add eyes between Rows 21-22, 3 stitches apart.
R27: *1 Sc, Dec* (12)
R28: *Dec* (6)
FO and sew hole closed.
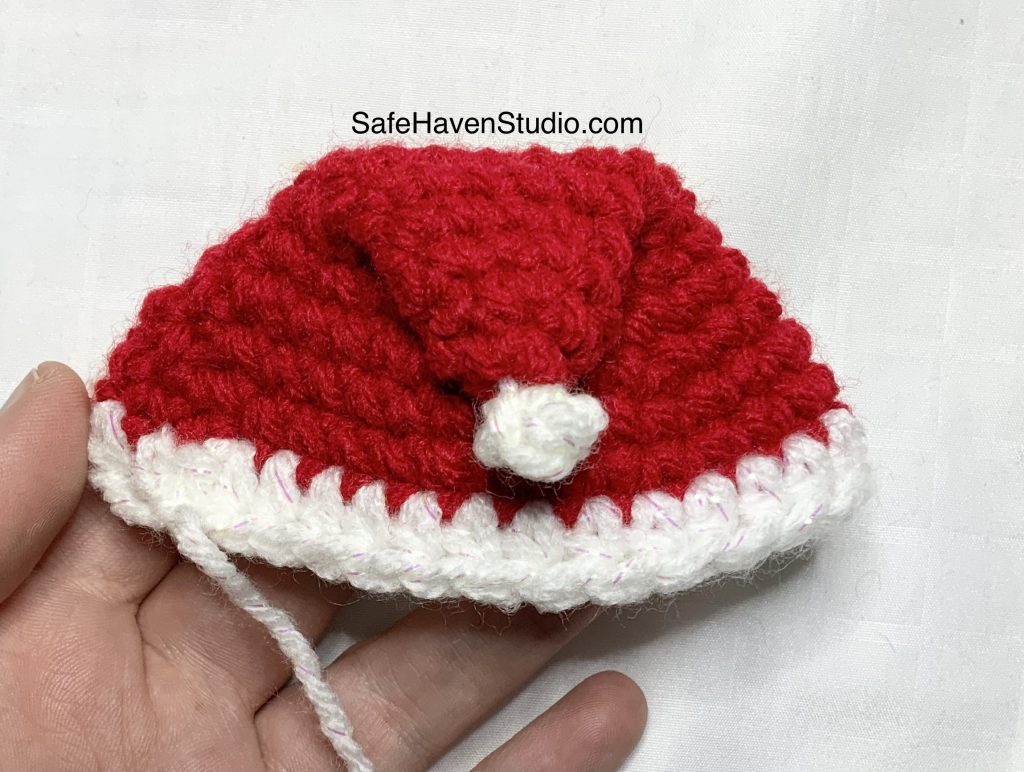
Hat – Starting in Red
R1: 4 Sc in MR (4)
R2: *Inc* (8)
R3: *Sc* (8)
R4: *3 Sc, Inc* (10)
R5: *4 Sc, Inc* (12)
R6: *5 Sc, Inc* (14)
R7: *6 Sc, Inc* (16)
R8: *7 Sc, Inc* (18)
R9: *2 Sc, Inc* (24)
R10: *3 Sc, Inc* (30)
R11: *14 Sc, Inc* (32)
R12: *Sc* (32)
Change to White
R13: Chain 1 (does not count as first stitch), and Hdc in each stitch around. (32)
Sl st and FO, leaving a tail to sew to the head.
Pom – In White
R1: (Leave a tail at the beginning) 4 Sc in MR. Sl St to first Sc.
FO and leave another tail at the end. Weave the ending tail through the remaining 3 stitches and pull tight to form a little ball. Use the tails to sew the Pom to the Hat. I usually make a few knots in the inside of the hat because it’s not going to be seen anyway.
Finish the hat by folding the tip of the hat around Rows 9 or 10, whatever looks best to you, and use red yarn to sew the flap down.
Using the white tail that you left from the Hdc row of the hat, sew the hat to the head. I position mine slightly to the side as you can see in the pictures but you can do it however you like.
Arms (2) – Starting in Brown
R1: 6 Sc in MR (6)
R2: *Sc* (6)
Change to White
R3: In FLO, *Sc* (6)
Change to Red
R4: Here you can either work 6 Sc in the BLO of Row 2, OR work 6 BPSC. Either way will give you a slightly raised appearance of the white cuff of the arms.
R5-7: *Sc* (6)
I stuff the arms a little with an up sharpened pencil but you can choose not to stuff at all.
FO and leave a tail to sew on the body.
Sew to Rows 14-15 on each side of the body.
Tail – In Brown
R1: 4 Sc in MR (4)
R2: *Inc* (8)
R3-4: *Sc* (8)
R5: Sl St and FO, leaving a tail.
Flatten the tail and don’t stuff. Sew to Rows 9-10 on the back of the bear, and make sure you sew it flat.
The tail should actually help with the balance so the bear can stand on its own.
Embroidering the Belt in Gray/Silver
Embroider the Belt at the top of Row 10 and the bottom of Row 11. It’s about 4 stitches wide. This is better shown in the pictures.
Now you’re done! Please don’t forget to tag me on instagram @safehaven_studio and check out my new facebook page, linked at the top of this post.